Getting started
The first time you open Garden Assistant, a short setup walks you through the basics. It takes about two minutes and you can skip any step: everything can be done later from the Planner and the More tab.
Welcome
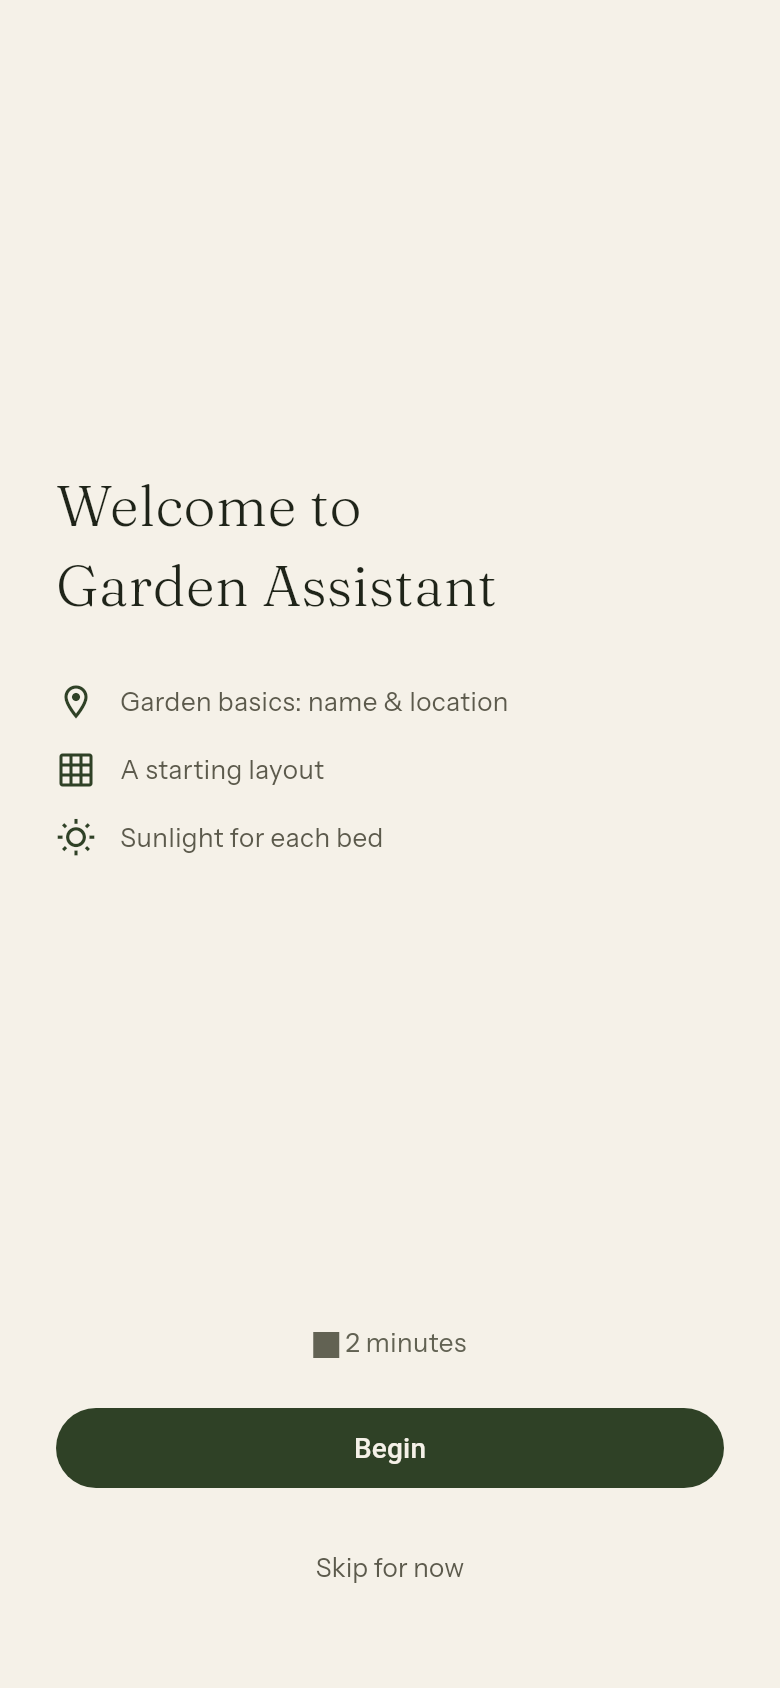
The welcome screen shows what you are about to set up: garden basics (name and location), a starting layout and the sunlight for each bed.
- Tap Begin to start
- Tap Skip for now to leave the setup. The app asks Skip setup?; choose Skip to continue without a garden layout, or Continue setup to go on. You can draw your beds later from the Planner
Garden basics
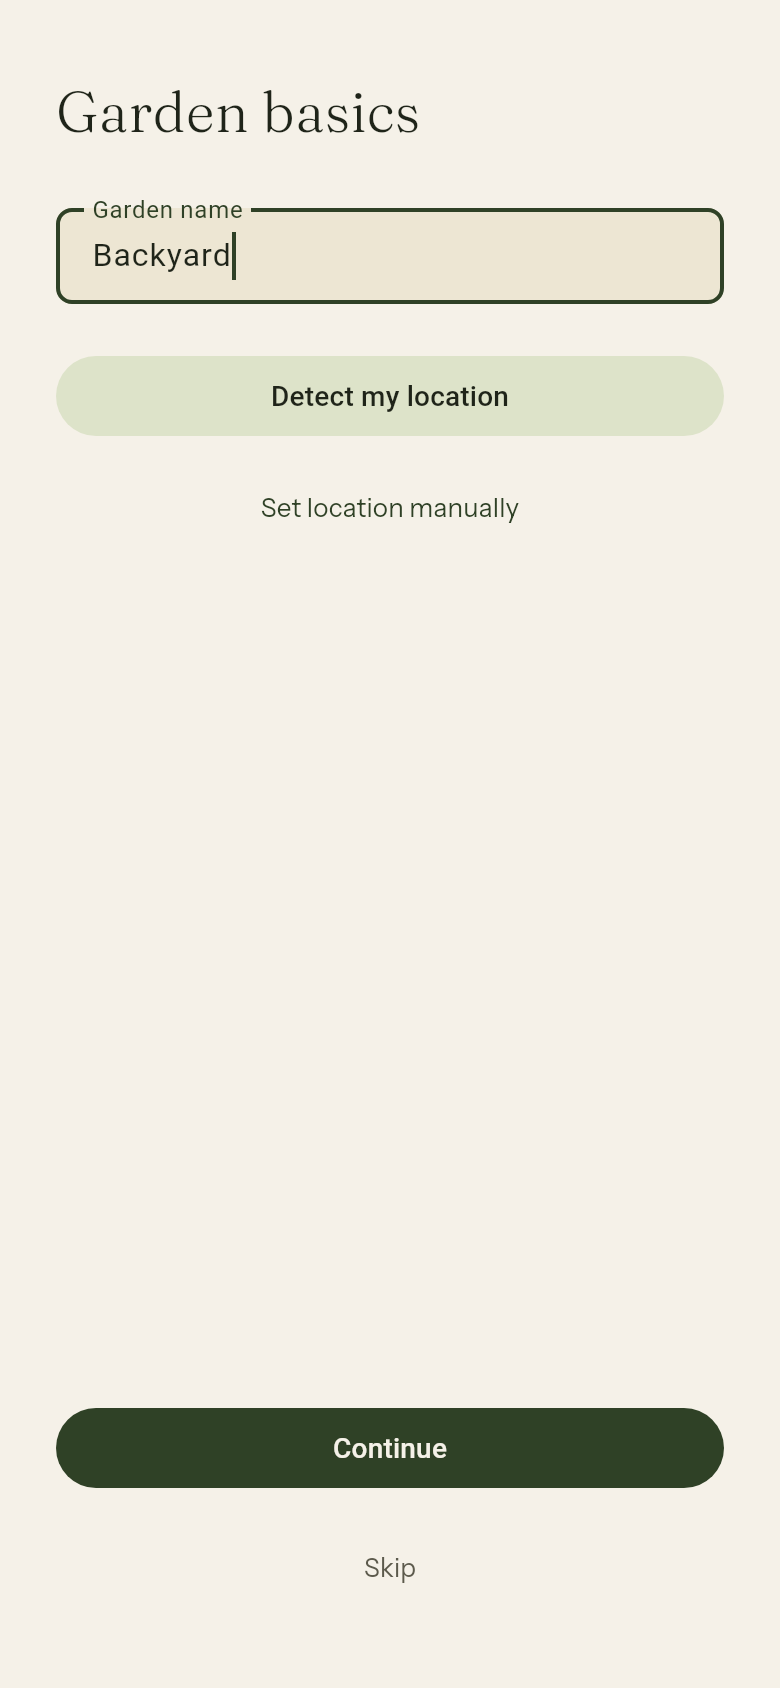
- Enter the Garden name, for example "My garden"
- Set your location in one of two ways:
- Tap Detect my location to use GPS. The app asks for permission; if detection fails, check the permissions or use the manual option
- Tap Set location manually and search for your city
- Once a location is set, the app shows the estimated Last frost and First frost dates for your area. Close to the equator no frost is expected, and the app shows No frost expected instead
- Tap Continue
The location is used for the weather on the Today screen and for frost date guidance. You can change all of it later in More → Location & climate.
Starting point
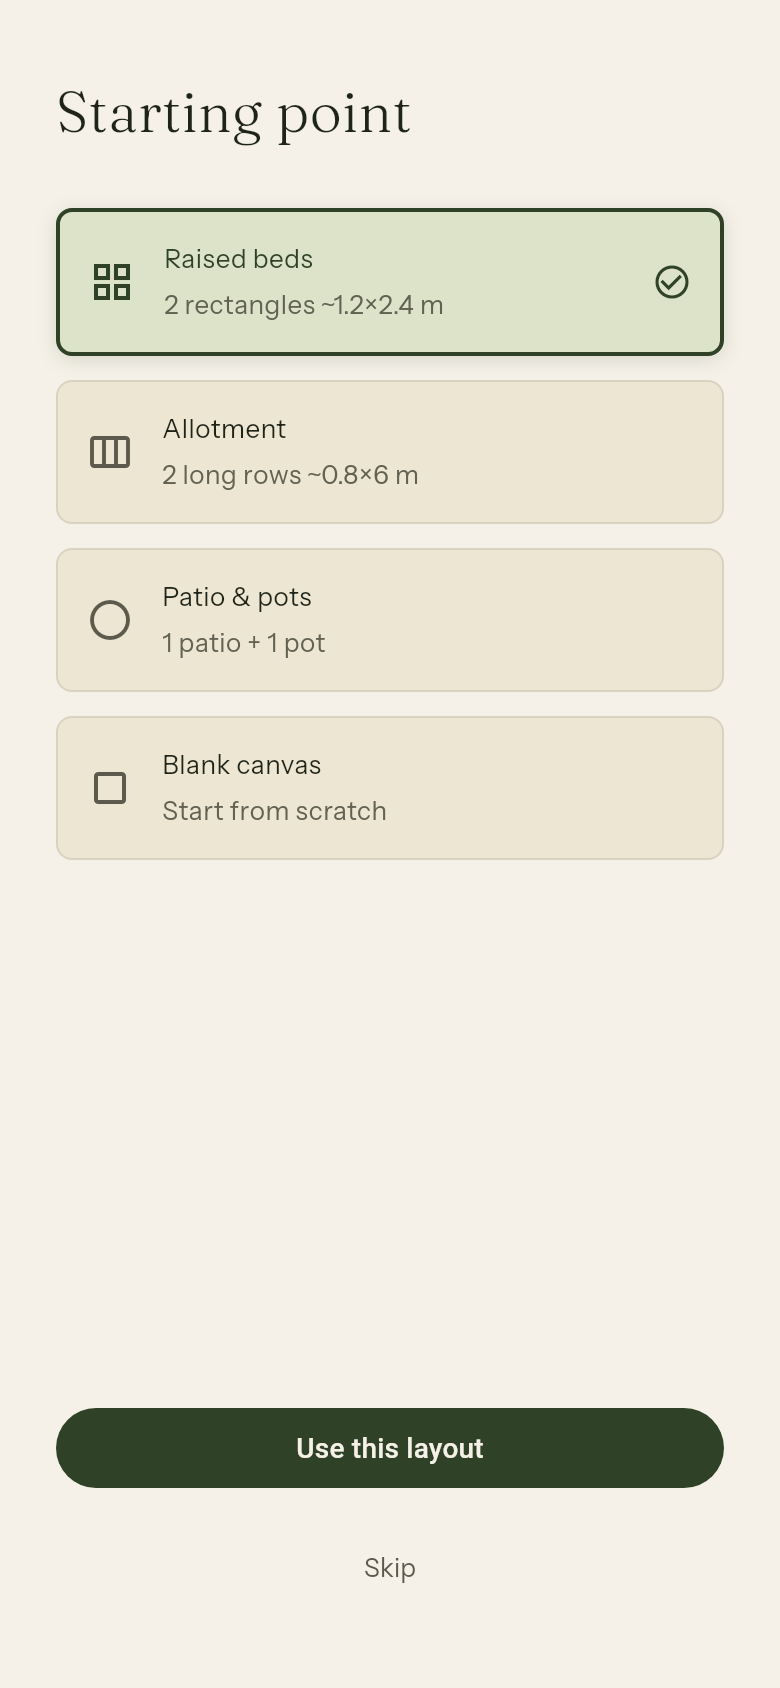
Choose a layout to start from:
| Layout | What you get |
|---|---|
| Raised beds | 2 rectangles of about 1.2 × 2.4 m |
| Allotment | 2 long rows of about 0.8 × 6 m |
| Patio & pots | 1 patio and 1 pot |
| Blank canvas | Start from scratch |
Tap Use this layout. The layouts are only a starting point: in the next step you reshape every bed.
Draw your beds
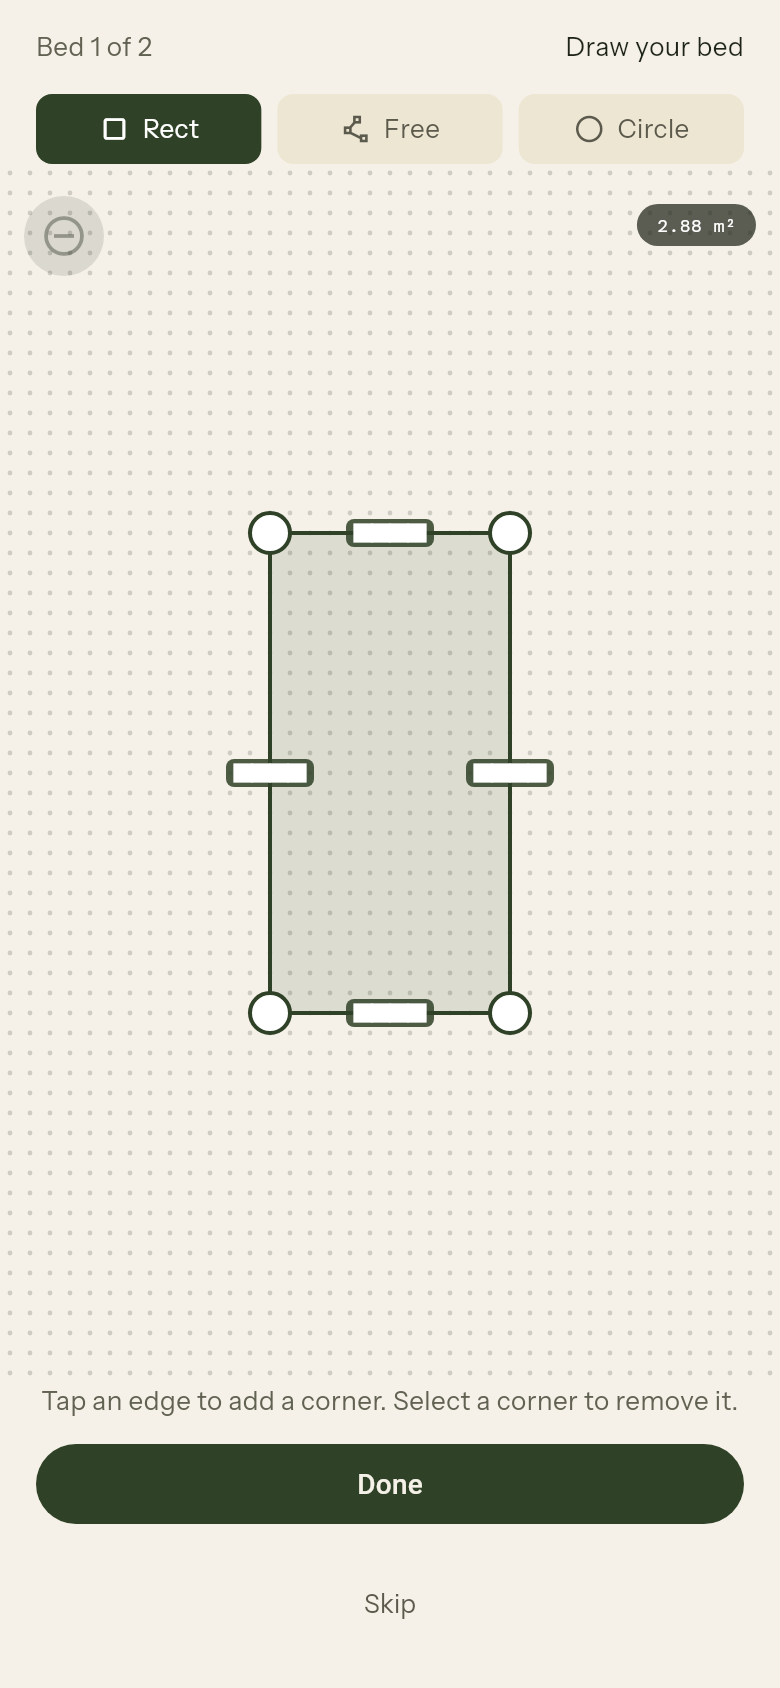
The app goes through your beds one by one ("Bed 1 of 2"). For each bed:
- Pick a tool: Rect, Free or Circle, and drag the handles until the shape matches your bed. If a free-form shape crosses itself, the app asks you to adjust the handles
- Tap Done
- Under Bed details, enter the Bed name and choose the Sunlight: Full sun, Partial or Shade
- Tap Save bed
You can tap Skip on any bed to leave it out.
All set
When the last bed is saved, the app shows a summary with the number of beds and the total area, and invites you to Add what's growing. Choose I'll do this later if you would rather add your first plantings another time. From here on, the Planner is where you manage your beds.